September 15, 2026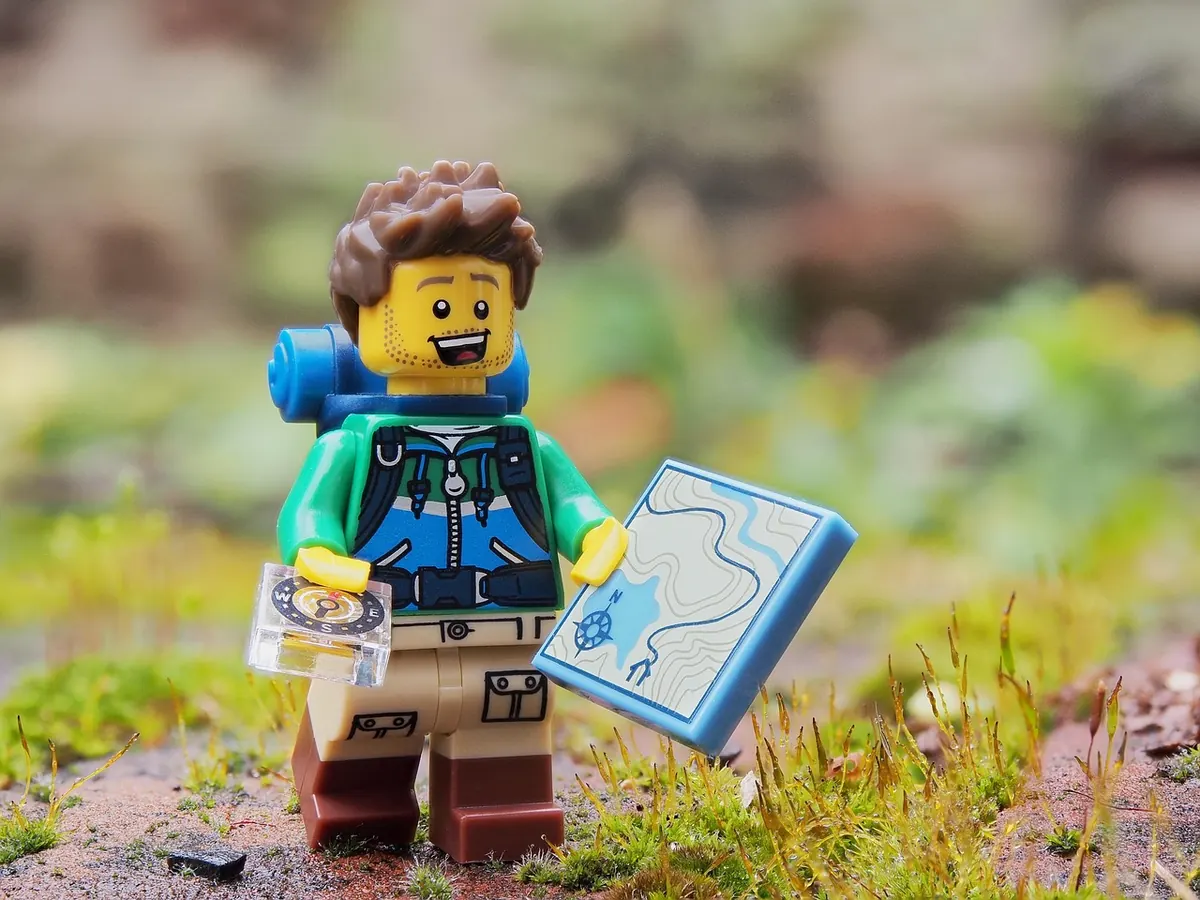
The mist rarely arrives when you expect it. One minute you are on a clear ridge with the valley spread out below; the next, the horizon has closed to twenty metres and every lump of rock looks like every other. On British hills this is ordinary weather, not an emergency. What separates a calm descent from a long, anxious afternoon usually comes down to two habits: taking an accurate bearing, and knowing how far you have walked.
Start Before the Cloud Does
Good navigation in poor visibility is mostly preparation done in good visibility. Every time you stop for a breather, take ten seconds to relate the map to the ground around you: which way does the slope fall, where is the last wall you crossed, what is the next obvious handrail? Build the day in short legs — this col, then that spur, then the path junction — rather than one vague line to the summit.
Set the map before you need to. Lay the compass flat on the paper, rotate the map until its grid lines line up with the needle, and north is physically in front of you. Five seconds of work, and you avoid the classic error of walking confidently in entirely the wrong direction. Use a GPS watch or phone app to check your map reading, never to replace it; batteries fade in the cold, but a paper map and a baseplate compass do not.
Taking a Bearing That Actually Works
- Lay the long edge of the compass along the line you intend to walk, with the direction-of-travel arrow pointing at your destination.
- Turn the bezel until the orienting lines sit parallel to the map's grid lines and the orienting arrow points to the top of the map.
- Lift the compass, hold it flat, and turn your whole body until the red needle sits inside the orienting arrow.
- The direction-of-travel arrow now shows your line. Pick a feature in the mist along it and walk there.
Every British map prints the grid magnetic angle in the margin, and in Britain it is usually small — a degree or two, which matters little over a short leg and rather more over two kilometres. Adjust it as the legend instructs, and do not guess.
A bearing is only as good as the point you take it from, so take it from somewhere you are certain of: a cairn, a bridge, a path junction, a contour feature you can identify beyond doubt. Ten degrees of error at the start becomes hundreds of metres by the end.
Walking on a Bearing
Hold the compass flat against your chest or belt, needle boxed, and glance at it every dozen steps rather than staring. Walking with your eyes down makes you drift. In thick mist, pick something twenty or thirty metres ahead — a boulder, a dark patch of peat, a fence post — walk to it, then take a fresh sighting. Leapfrogging like this keeps you honest on ground that gives nothing else away.
Aiming off
If your target is a stream, wall, fence or path — anything long and linear — deliberately aim a few degrees to one side of it. When you meet the feature, you know which way to turn. Hitting a small point dead on in fog is luck; hitting a long feature and knowing your left from your right is a plan. Break long legs into shorter ones, too. Fifty metres on a featureless plateau is hard to fumble, but a kilometre accumulates every small error you make.
Pacing and Timing
Counting steps remains the most reliable way to measure distance when you cannot see anything. Calibrate on a measured stretch of path or a running track, counting double paces — every time your left foot lands. Most adults land somewhere between 55 and 75 double paces per 100 metres on flat, easy ground, but your own number is the only one that counts. Then adjust:
- Uphill, or into a headwind, expect more paces per hundred metres.
- Tussocks, heather and bog shorten your stride and slow you down.
- Count in blocks of fifty and keep tally with a pebble, a knot in a cord or a counter.
- Time is a useful cross-check. As a rough guide, allow about four kilometres per hour on the flat, plus roughly a minute for every ten metres of ascent, then add more again for rough ground and tired legs.
Write the distance to the end of each leg in the map margin. Knowing you need 400 metres to the next junction is useful; remembering it when you are cold and the light is going is better.
When You Are Not Sure Where You Are
Stop. The instinct is to keep walking and hope the ground gives something away, but extra steps on a wrong bearing make relocation harder. Eat something, put a jacket on, shelter the map from the wind and think it through:
- Slope aspect. A compass laid flat on the ground shows which way it falls, and few hills have contours that could be confused with one another.
- Handrails and catching features. Following a wall or stream to a known junction beats aiming at a point in space. A river, road or forest edge tells you when you have gone too far.
- Contours. Count the ups and downs you crossed and match them to the map.
- Back bearings. Check the line you came along; the error is often in the last leg, not the whole route.
- Boxing. If you are genuinely unsure, walk deliberately onto something unmissable — a road, a loch shore, a big stream junction — and start again from there.
Two people walking on one bearing should check each other. If you disagree about the needle, stop and settle it before moving.
Practice, Kit and Calling It Early
These skills rust quickly. Practise on clear days on ground you know: take a bearing to a gate you can see, count your paces to it, then check. Repeat until it feels like second nature rather than a procedure you are reciting.
Kit worth carrying: a compass on a lanyard, a map in a clear case, a headtorch with spare batteries, a watch, and a route card left with someone at home. Keep the phone warm in an inside pocket and treat it as a backup.
Be honest about the day. Poor visibility is not an emergency in itself, but cold, wet and one bad decision can become one quickly, so turn around while you still have daylight, energy and options. If you do need help, dial 999 and ask for the police, then mountain rescue — and stay put once you have given your location.
If any of this feels shaky, a day out with a qualified navigation instructor is money well spent. It costs far less than a night on a hillside.
Photo: aitoff / Pixabay